Sweatshirt Tutorial
Today I decided to sew up a sweatshirt for George for school and seeing as I’d promised to do a tutorial on doing the neckline I decided I’d do it on the whole thing; so here goes!
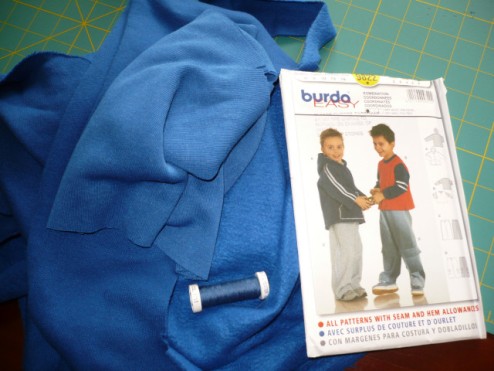
1. Choose pattern and fabric; luckily I had both in my stash already so I’m using a Burda pattern and 100% cotton sweatshirt fleece.
You then cut out the paper pattern to the correct size, or if using a small size and wanting access to the larger sizes later you copy off the one you want and then cut the copy out. Using a barely warm iron press the pattern pieces.
Lay out your pattern pieces paying attention to the grainline and direction of stretch. Pin and cut. The pattern I am using has a 1.5cm seam allowance built in, Kwik Sew has 6mm and some have none at all and you have to add it on when cutting. Make sure you know which you have before cutting or sewing anything!
Now, the directions I am giving are for using an overlocker (serger) and coverhem; all can be done on a standard sewing machine. For vertical seams a straight stitch is fine unless your fabric has lengthwise stretch. For the shoulders straight is fine as you will be using a woven tape to stabilize. For any seams with stretch use a narrow zig-zag and for the hem substitute a double needle which will give you a similar effect.
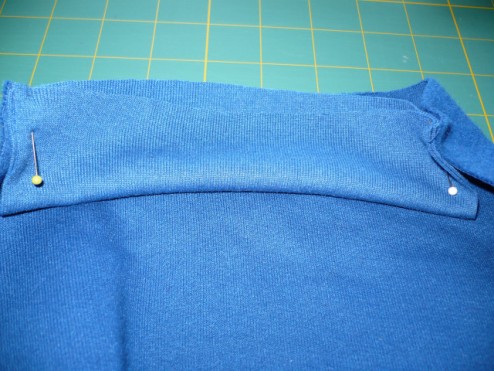
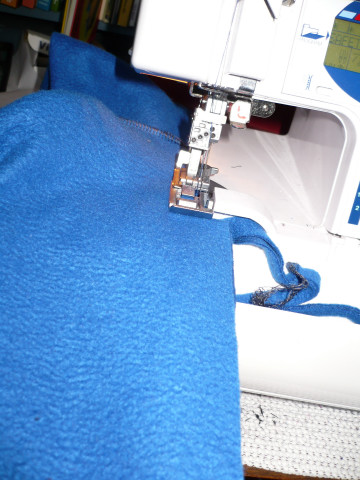
Step 2: After cutting out your fabric take some 6-10mm woven cotton tape and cut it to the width of the shoulder as in the photo.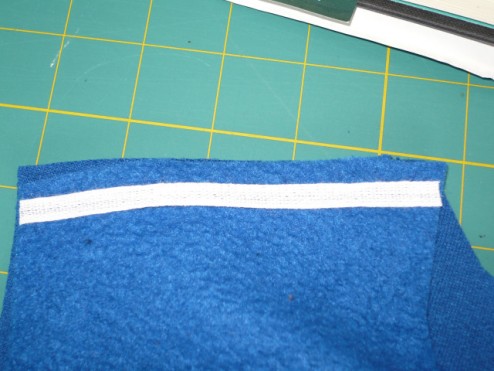
Now, for the neckline I am doing it in the round, if you prefer to do it in the flat take the instructions I give for the sleeve and apply them to the neck. I find doing it in the round gives a better finish with less lumps.
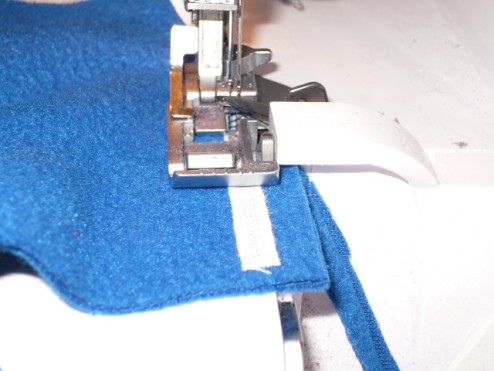
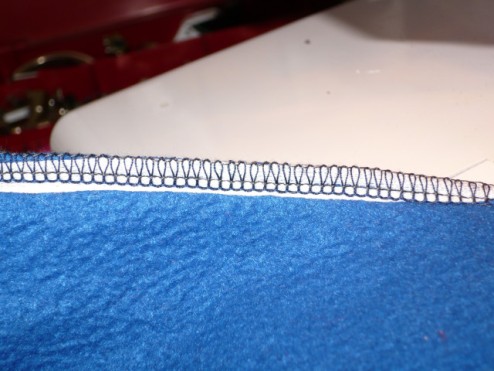
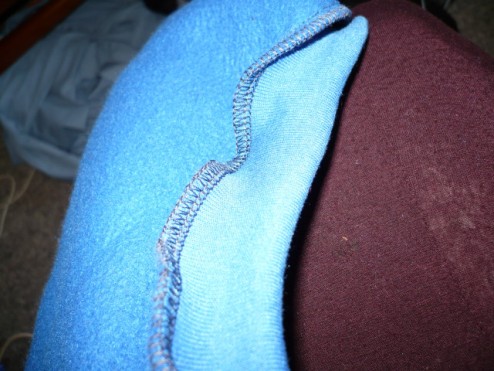
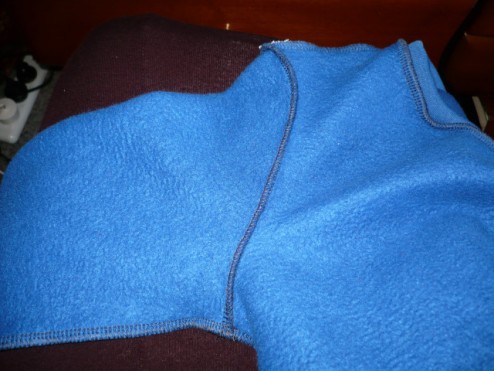
Serge both shoulders with the tape attached
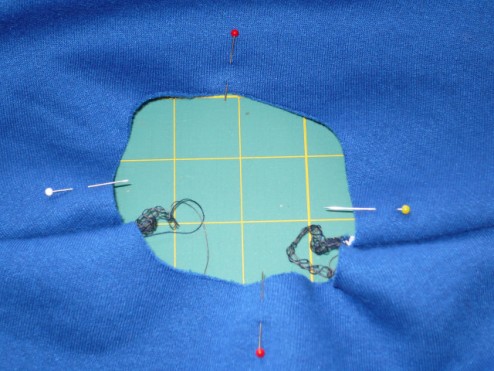
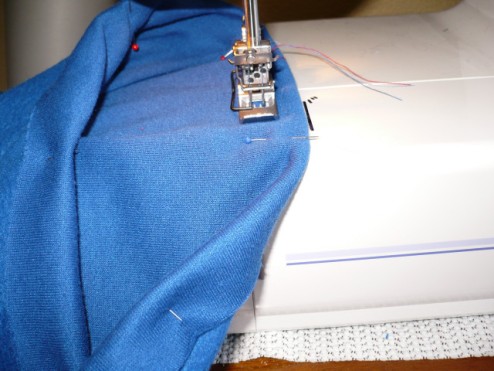
Should look like the above when finished. Now that you have both shoulders sewn mark your centre front and centre back with pins. Fold with these points together to get 2 more points so you have 4 equal sections like the photo below.
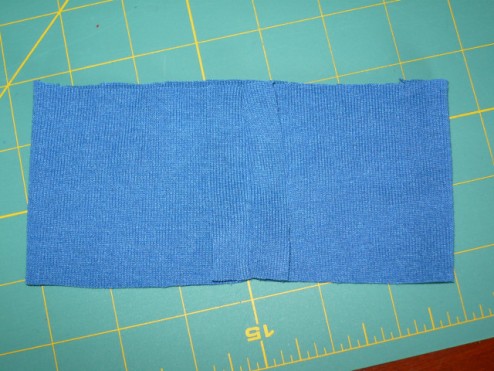
You are now going to get your ribbing ready to apply to your neckline. Your ribbing will need to folded together lengthwise with right sides facing. Sew the short ends together
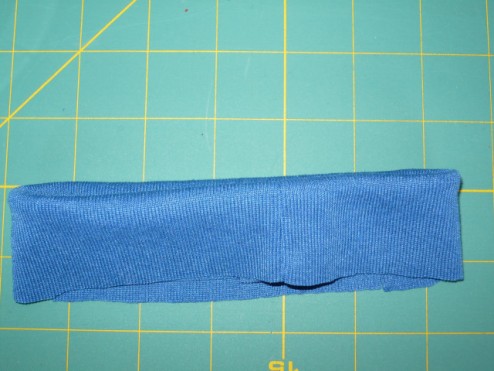
Then finger press the seam open and fold the other way with wrong sides facing to look like this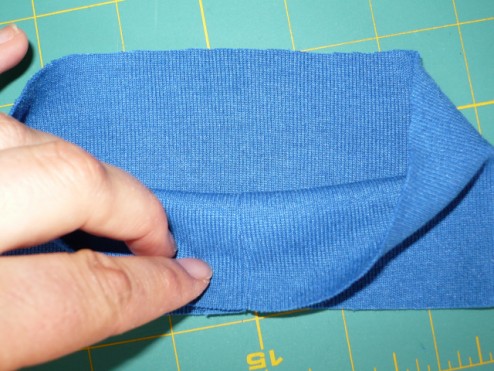
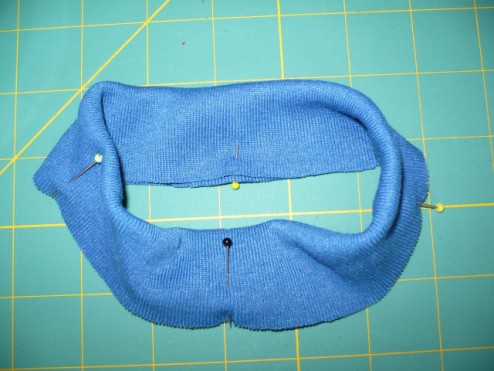
Quarter this as you did the sweatshirt neck using the seam as your centre back, will look like this.
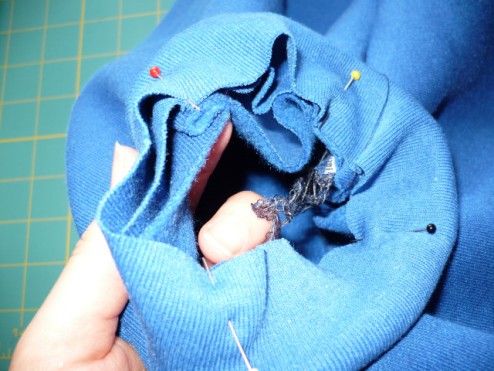
You’re going to pin them together now using the marked points. It should now look like this, you’re pinning it to the right side of the sweatshirt with raw edges together.
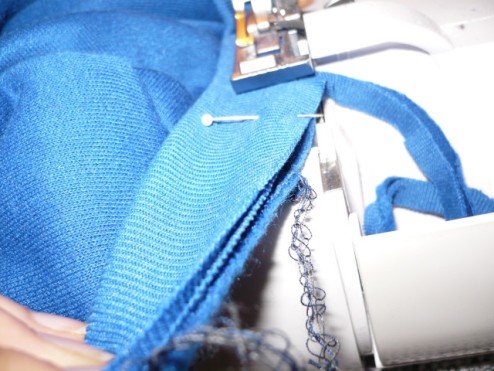
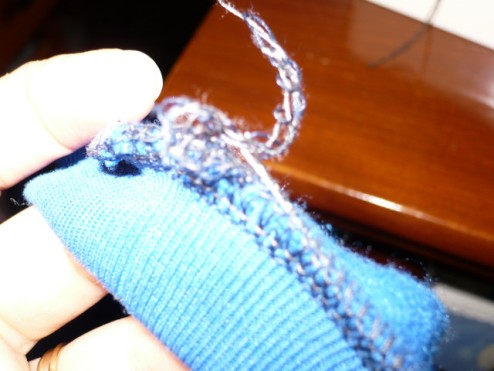
Serge together stretching ribbing to fit the neckline as you go; having the four points pinned makes it much easier to do this evenly.
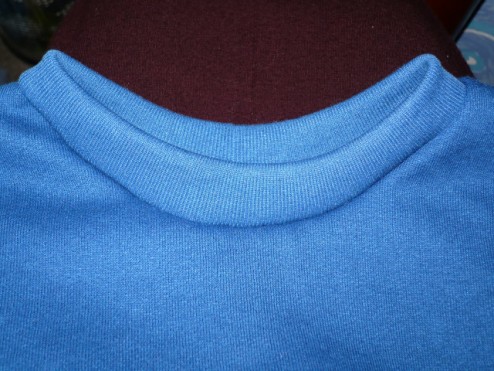
It will now look like this
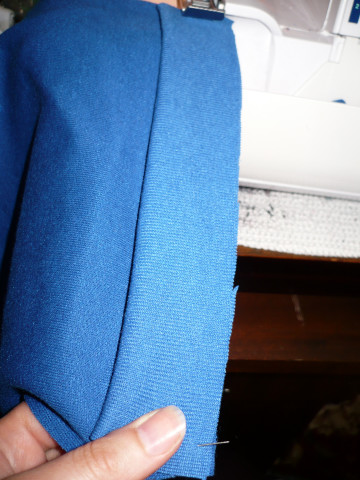
Now you’re going to do the ribbing on the sleeves. I’m using the flat method on this which is easier to execute, but not as tidy. Fold your ribbing right sides together with the long edges facing eachother like this
Pin to the sleeve right sides together and raw edges together.
Serge together making sure to remove the pins before you hit them (sergers hate pins!); stretch the ribbing to fit the sleeve as you go making sure to keep the raw edges together.
The fact that it’s a bit wavy doesn’t matter, it’ll be fine on the finished article
You’re now going to attach the sleeve; I’m only giving instructions for the flat version of this, most sweatshirts and t-shirts use this method. Pin the sleeve to the body of the sweatshirt right sides together and raw edges together, make sure to match all notches. Some patterns it doesn’t matter which sleeve goes on which side, some it does matter. Mine it matters but it’s easy to tell as there is only one notch on each sleeve and that’s at the front. Serge keeping raw edges together.
Almost done! You now need to sew the side seams from the ribbing sleeve (careful, this can slip and leave you with an uneven sleeve). If you’re new to sewing pin so it doesn’t slip at the hem, mid side, underarm, mid sleeve and wrist taking care not to run over them with the serger. If you’re an old hand you can do this without any pins which is safer for your serger.
Just the hem to do now! You can do this one of two ways. You can add a ribbing hem in the same way as you did the neckline (in the round), or you can just turn it up and hem it normally as I did on this one. I had to do this as that’s how the school uniform is done. I used my coverhem, but as I said at the beginning you can use a double needle in a normal machine.
The finished product! Be proud, it’s all done and can now be worn to keep the chill at bay. Unfortunately mine has one more step, I have to get the school logo added before George can wear it.



Joanne said,
December 27, 2010 at 8:33 am
Thanks. I needed some help with this. I took apart a sweatshirt with a raglan sleeve and am constructing a new shirt. Some of the things I had forgotten and your tutorial help remind me. A little dicy on the amount to cut of the ribbing for the neck, sleeves and bottom, but will research it on line or just jump in. thanks again.
sewsable said,
December 27, 2010 at 9:10 am
I’m glad my tutorial was of some help to you. Can’t help on the ribbing I’m afraid as I’ve only ever used a pattern, but I do know you want it to be able to stretch over the neck comfortably and also be smaller than the neck opening so it will look right. A bit of a balancing act. Sleeves are a similar concept, but seem to have less difference in size. HTH.
I don’t really maintain this blog anymore, I use a blogspot one nowadays.